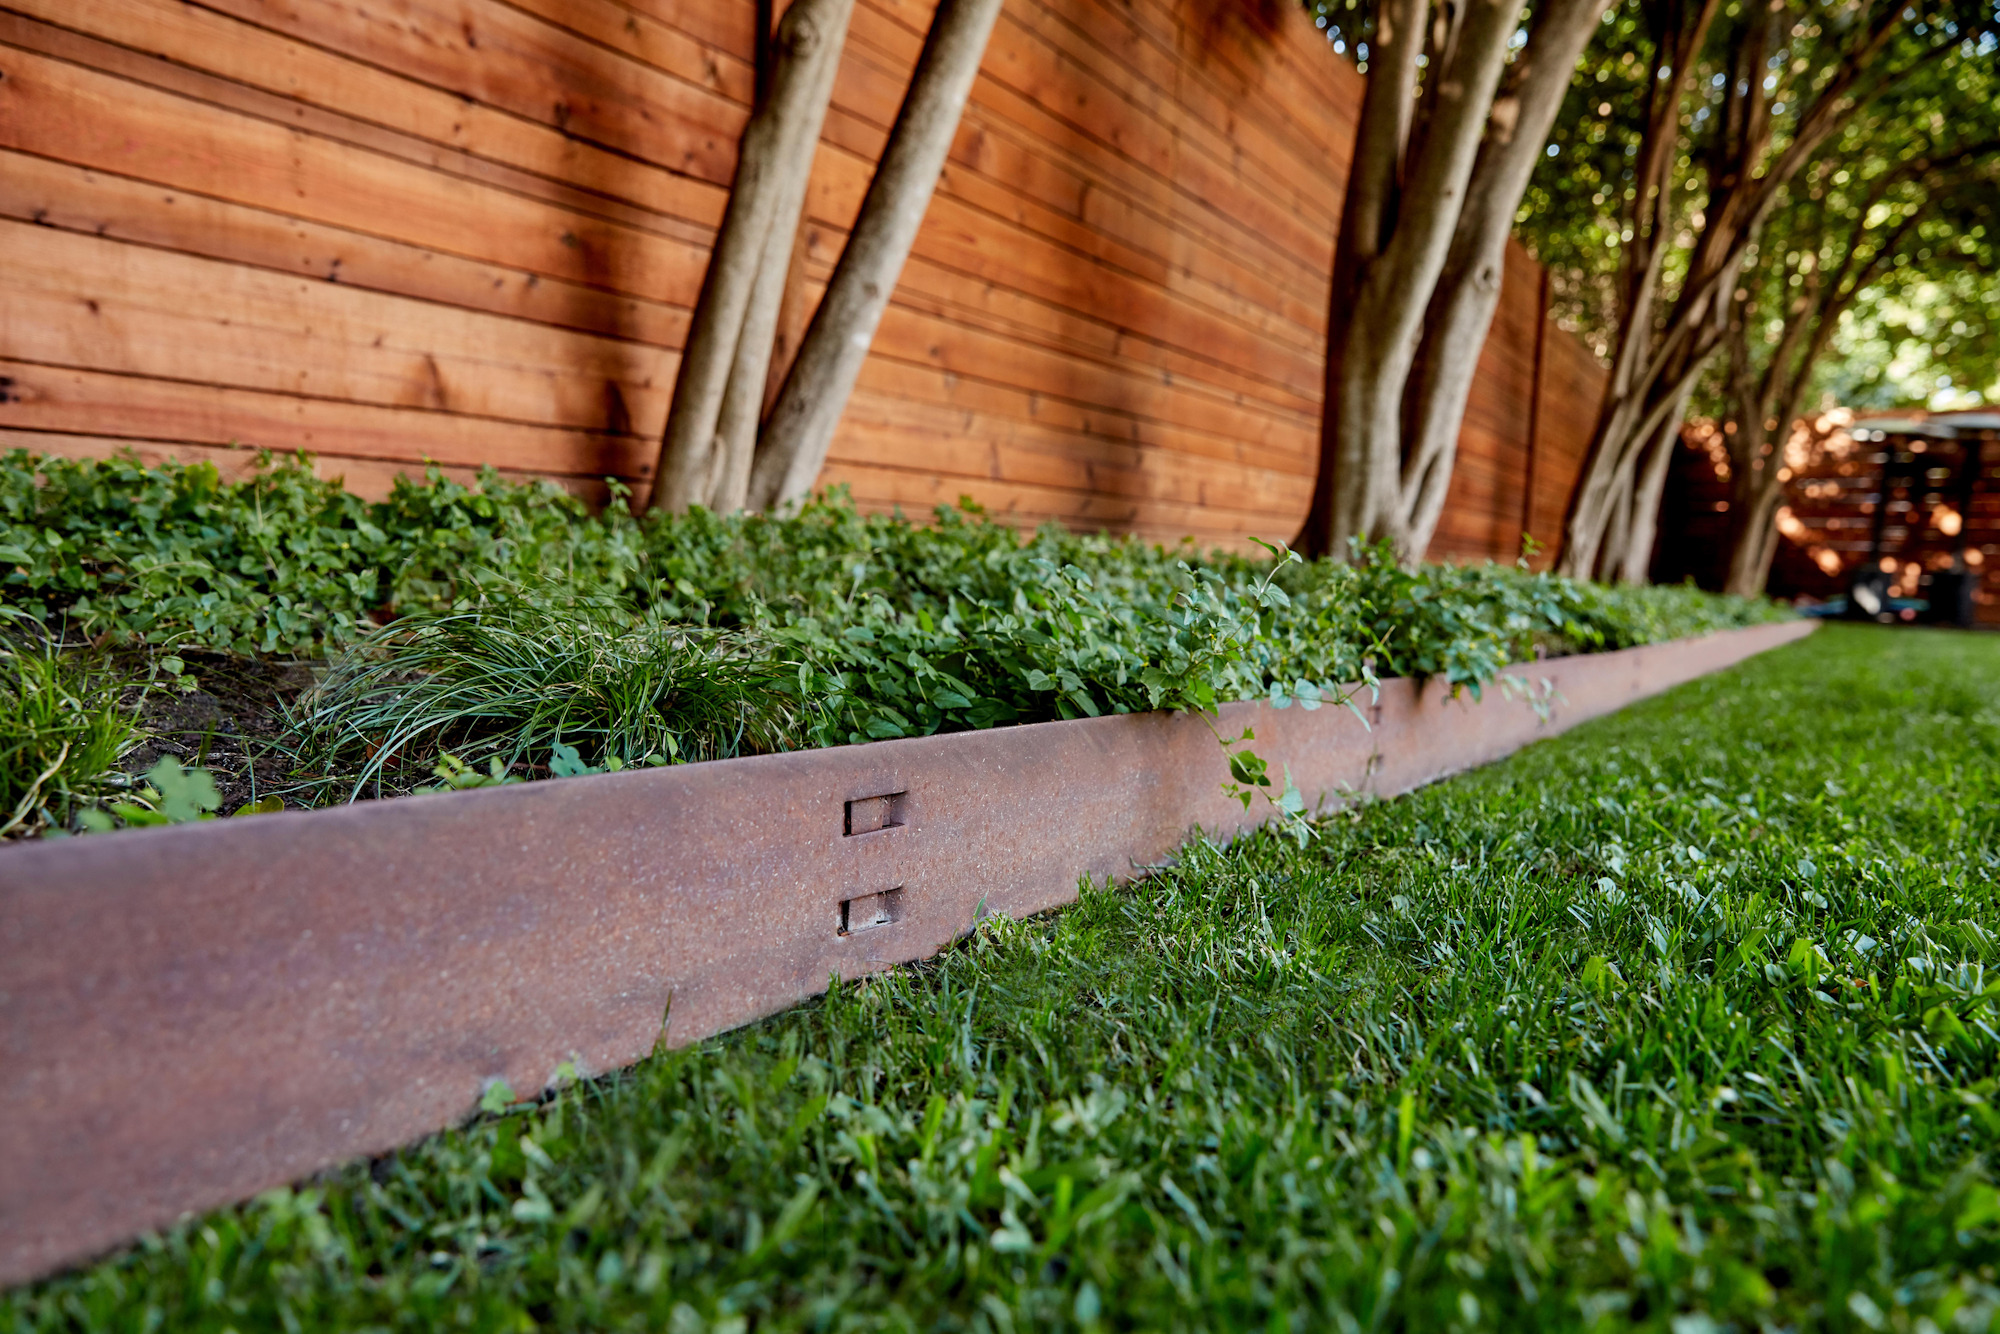
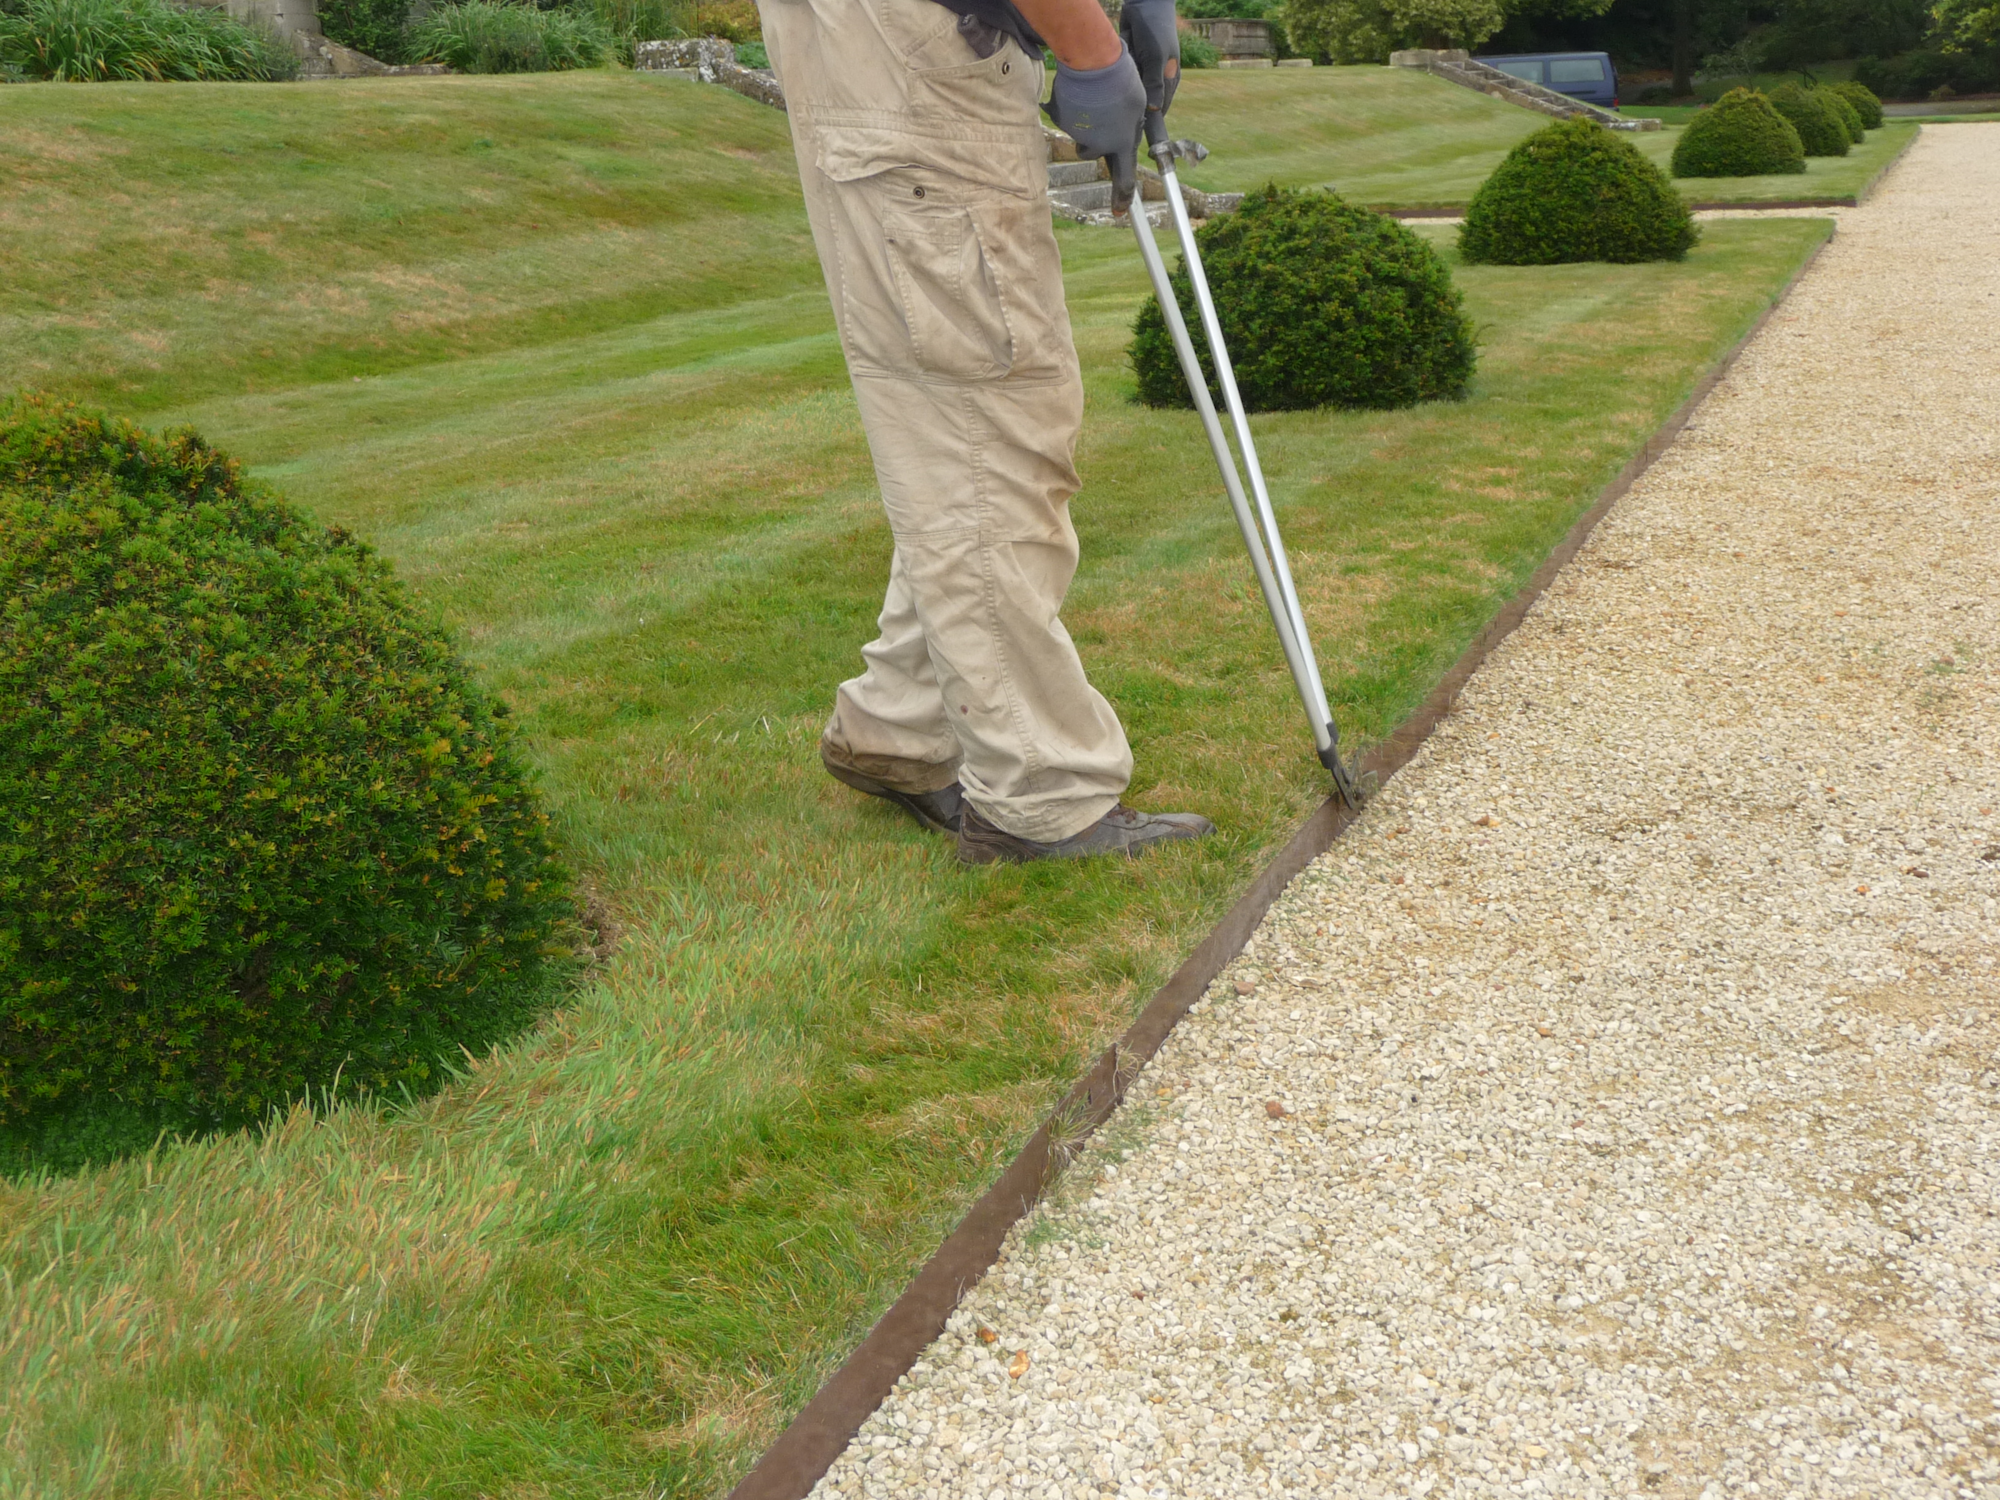
Implementing metal edging in commercial and institutional projects involves meticulous planning, precise execution, and thoughtful maintenance.

Here's a comprehensive guide to successfully incorporate metal edging into a landscape design.

Planning and Design for Metal Edging

  • Define Objectives: Understand the purpose of the metal edging in your project. Is it for aesthetic appeal, functional separation of landscape elements, or both?
  • Site Analysis: Conduct a thorough analysis of the site, including soil type, drainage, and existing vegetation. This will help in selecting the appropriate type of metal edging.
  • Design Layout: Create a detailed design layout. Use software tools or traditional sketches to mark the areas where the metal edging will be installed. Consider curves, straight lines, and intersections to match the landscape's flow.
  • Material Selection: Choose the type of metal edging based on the project requirements:
  1. Aluminium: Lightweight, corrosion-resistant, and easy to handle.
  2. Steel: Durable and robust, available in galvanised or Corten for a rustic look.
metal edging

Preparation for Metal Edging

  • Gather Tools and Materials: Ensure you have all necessary tools and materials, including the metal edging, stakes, connectors, a measuring tape, a saw or metal cutter, a shovel, and protective gloves.
  • Clear the Area: Remove any debris, rocks, or plants from the installation site. Ensure the ground is level and compacted to provide a stable base for the edging.
  • Measure and Mark: Use the design layout to measure and mark the exact placement of the edging. Use stakes or spray paint to outline the edges.


metal edging

Metal Edging Cutting and Shaping

  • Measure and Cut: Accurately measure the lengths of metal edging required for the project. Use a saw or metal cutter to make clean cuts.
  • Shape the Edging: For curved designs, gently bend the metal to the desired shape. Use a bending tool or carefully apply pressure to achieve smooth curves.
metal edging

Metal Edging Installation

  1. Position the Edging: Place the metal edging along the marked lines. Ensure it follows the design layout precisely.
  2. Secure the Edging: Drive stakes or connectors into the ground at regular intervals to anchor the edging firmly. Ensure the top edge is level with or slightly above the ground surface.
  3. Join Sections: If the project requires multiple sections of edging, use connectors or overlapping techniques to join them securely. Ensure there are no gaps or misalignments.
  4. Backfill: Once the edging is in place, backfill the trench with soil, mulch, or gravel to secure it. Compact the backfill material to prevent shifting.
metal edging installation

Metal Edging Finishing Touches

  • Inspect the Installation: Check the entire installation for alignment and stability. Make any necessary adjustments to ensure a smooth and continuous edge.
  • Clean Up: Remove any excess materials and clean the area. Dispose of any debris properly. 

Metal Edging Maintenance 

  1. Regular Inspections: Periodically inspect the edging for signs of wear, rust, or displacement. Address any issues promptly to maintain the integrity of the installation.
  2. Cleaning: Clean the edging occasionally with water and a mild detergent to remove dirt and debris. Avoid abrasive cleaners that can damage the metal finish.
  3. Protective Coatings: Apply protective coatings, especially on steel edging, to prevent rust. Reapply as needed, particularly in high-moisture environments.

Metal Edging Commercial Applications

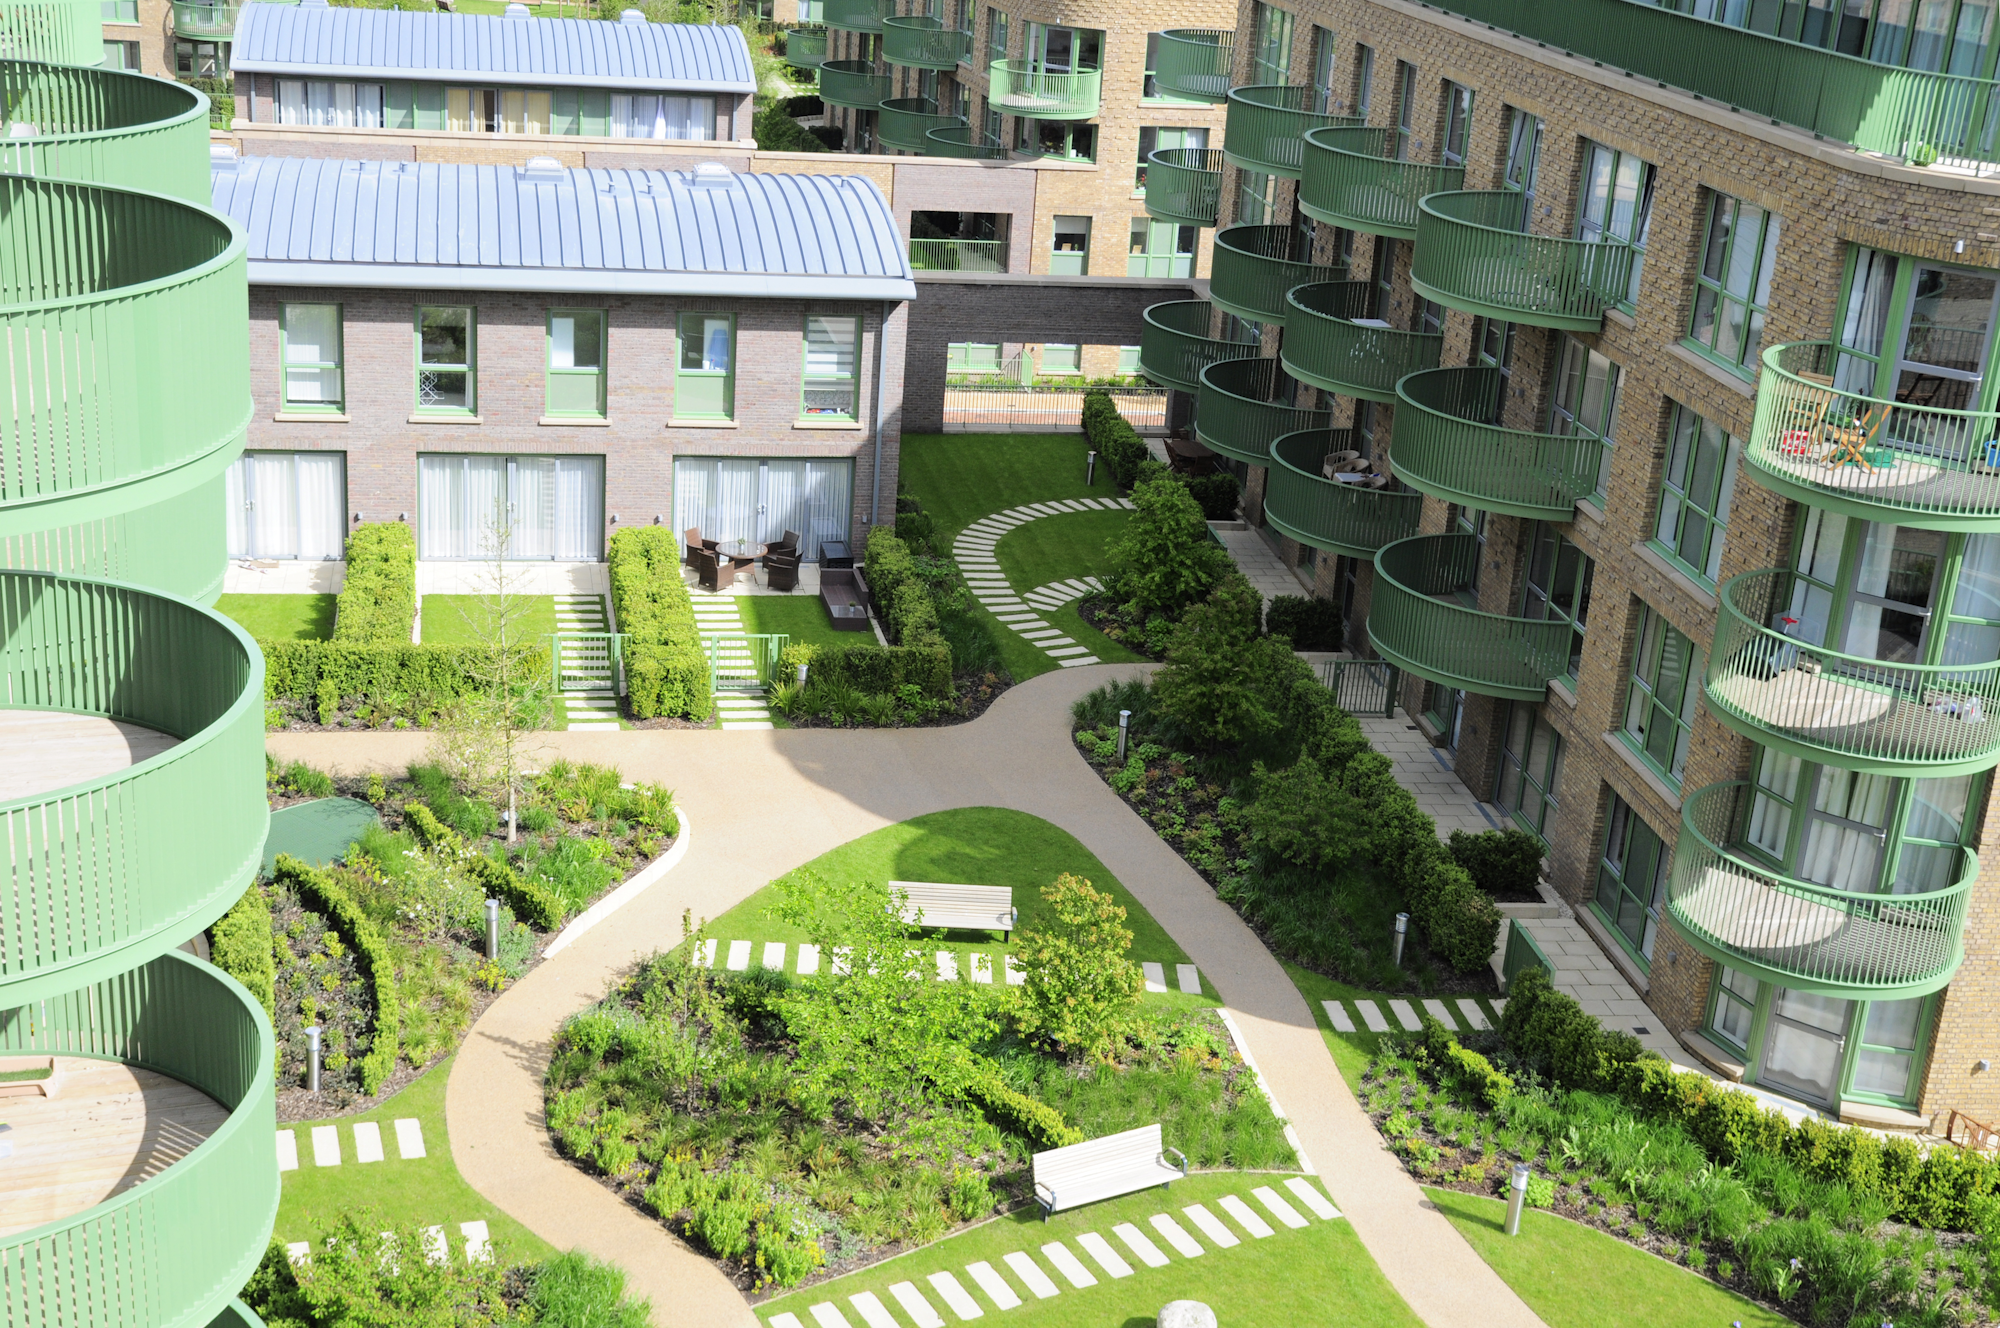
Metal edging provides both functional and aesthetic benefits across various applications:

  • Pathways and walkaways
  • Garden beds and planting areas
  • Hardscape features

METAL EDGING FROM KINLEY

As a leading UK designer, innovator, and manufacturer of steel and aluminium edging, we’re always happy to help.

For more information on our complete line of products, inspiration for your future project and technical resources, get in touch with our team of expert advisors today.