Effortless garden definition: Installing landscape edging like a pro

A well-defined garden can transform your outdoor space from ordinary to extraordinary. Creating a clear boundary between your lush greenery and well-maintained lawn.
One of the simplest but most impactful way to achieve this is by installing high-quality landscape edging. Proper edging can help prevent soil erosion, keep mulch in place, and add visual appeal.
We will walk you through the process of installing landscape edging like a pro. Choosing the right materials and executing a flawless installation. So you can enjoy a beautifully defined outdoor space with minimal effort.
Why landscape edging is essential for your garden’s clean look
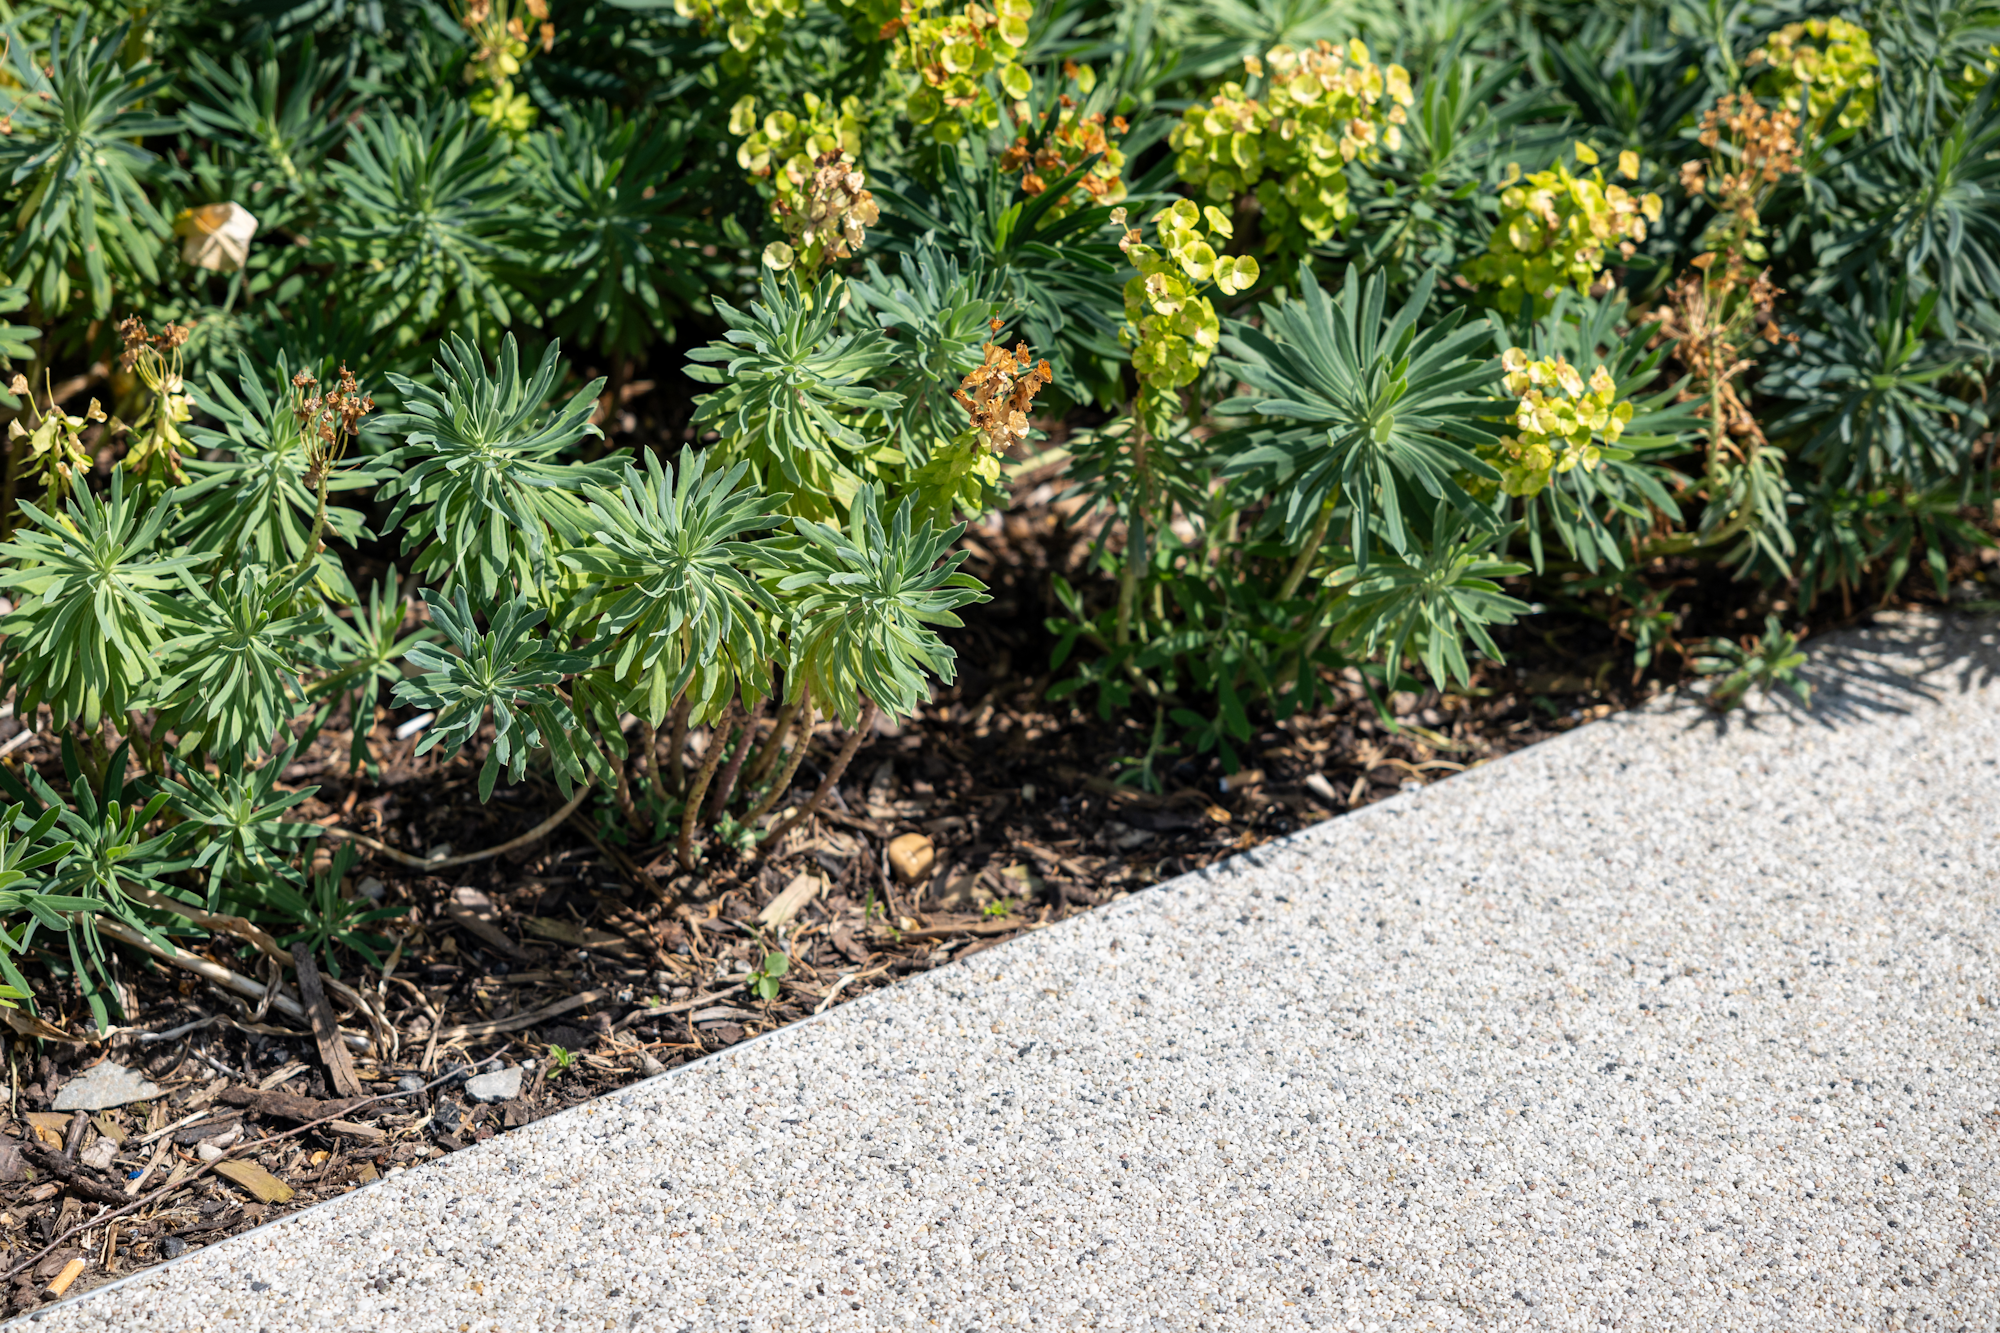
Landscape edging is a key element in creating a clean look in your outdoor space. It serves as a visual boundary that separates different elements of your garden. Such as flower beds, lawns and pathways.
By defining these areas, edging helps to prevent the spreading of grass or mulch into unwanted spaces. Keeping your garden looking neat and organised.
Garden edging can complement your landscape design and elevate the aesthetic. Making your garden design a polished, well-maintained appearance. Ideal for both beauty and functionality in your outdoor space.

Step-by-step guide to installing landscape edging like a pro
When installing landscape edging like a pro, you will need to follow a few simple steps. These steps may vary slightly depending on which metal edging you select for your landscape design. Our step-by-step guide will help you through the basics.
Step 1: Sub-base & set out
Firstly, lay a suitable sub-base to the required depth in the specification of your product. Thorough compaction of the sub-base is essential to ensure a successful installation. You will need to ensure the sub-base extends 100-150mm beyond the prepared edge restraint line.
Step 2: Laying the edging
Once your sub-base is properly compacted, it is time to lay the edging. Position the edging along the prepared line, making sure it is level and straight. For curved lines, gently bend the edging to follow the desired shape.
Be sure to check the alignment frequently as you go to avoid any uneven gaps or misalignment.
Step 3: Connecting the edging
After laying the edging, you will need to connect them together to form a continuous border. Use a strip connector, or any other connectors provided with your metal edging system to join the pieces securely.
Step 4: Laying surfaces
The next step is to lay the surfacing. When more than one layer is required, the base course should be properly applied. Then compacted before proceeding to the final wearing course. Once you are prepared, proceed to install the final surface.
Step 5: Hot lay surfacing
This step is only relevant in cases where you have hot rolled surfaces. If required, you will need to compact the surfacing with a roller. Then make the final pass as close to the edging as feasible to achieve a precise finish. Finally, run the roller over the edge of the edging to ensure full compaction and a neat, seamless result.
Cutting and creating corners
In some cases, products such as Borderline or AllEdge won’t require steps four and give. Instead, you can complete your landscape edging by cutting and creating corners.
Simply cut the edging using an angle grinder or hacksaw to your desired shape or size. You can achieve corners by securing the edging to a workbench and bending it to 90 degrees. Scoring the edging using an angle grinder can help achieve this.
Please refer to your individual guide when installing your landscape edging for a detailed step-by-step process. This will ensure optimal results for your specific product.

Tips for a professional finish
To ensure you achieve a professional finish:
- Plan your layout: Before starting, lay out the edging along the desired path to check for alignment and adjust as needed.
- Use proper spacing: ensure the gaps between spikes or stakes are evenly spaced to secure the edging and prevent shifting.
- Keep edging tight: Ensure the edging is tightly connected and secure to avoid gaps that could lead to shifting over time.
Which landscape edging is right for you
Choosing the right landscape edging for your garden area depends on several factors. These include the garden aesthetic you want to achieve, the durability you need and your budget.
At Kinley, we have a range of metal edging products to fit your landscape design requirements. These include:
Aluminium: Aluminium is a lightweight metal that has many advantages for landscape edging.
Its flexibility means it is ideal for creating curved or angular garden borders. Aluminium is resistant to rust and corrosion. Ensuring it will maintain its appearance for years without the need for frequent upkeep. As well as withstanding harsh weather conditions.
Steel: For a more robust and durable metal edging solution, steel is an excellent choice. Steel edging offers greater strength than aluminium. Making it perfect for areas with heavy foot traffic or those that require extra support. Steel is ideal for creating professional, long-lasting garden borders.

The benefits of landscape edging for your garden’s health and aesthetic
Landscape edging goes beyond creating a clean, defined look. It also offers several practical benefits that contribute to the overall health and longevity of your garden. Here are some key advantages:
- Weed reduction: Landscape edging helps prevent weeds from invading your garden beds. It acts as a barrier, stopping grass and weeds from creeping into flower beds. Minimising the need for constant weeding.
- Soil retention: Lawn edging keeps soil from spilling out of garden beds. This is especially helpful in sloped areas. It reduces erosion and ensures your plants stay well-nourished. Preventing the soil from washing away during heavy rain.
- Low maintenance: Once installed correctly, edging helps reduce maintenance by keeping mulch and soil in place and preventing overgrowth. This allows you to spend more time enjoying your garden instead of constantly tidying up.
DIY vs professional installation
While installing landscape edging is a manageable DIY project, some may prefer to leave it to the professionals.
- DIY: installing your own landscape edging can be rewarding and cost effective. If you enjoy hands-on projects and have the time, this is a great way to get exactly the look you want while saving money. Just make sure you have the right tools and follow proper installation steps.
- Professional installation: If you are looking for a flawless, long-lasting results. Or if you have a larger, more complex design then hiring a professional can be worth the investment. They provide expertise, the right tools and experience to ensure they complete the job perfectly the first time. This will ensure your landscape edging is installed like a pro!

The importance of landscape edging in creating effortless garden definition
Landscape edging plays a vital role in defining the boundaries of your garden, providing both aesthetic and practical benefits. The right edging enhances your garden’s appearance and promotes plant health. It also reduces maintenance.
You can install the edging yourself or hire a professional. Proper installation and maintenance will give you a neat, cohesive garden to enjoy for years.